Mycroft Mark 2 STL Files

Hi everyone i am completely new here.

I was hoping to find the STL file for the mark 2 Mycroft enclosure.

I am not sure if the file i want are public or ever going to be public. so I though I would ask and see if any one has them or knows where I can find a copy of them so i can play about with them and making my own mark 2 based on a pi4 or some other SBC.

this is the enclosure i am looking for

I only want it for my own one personal my croft/ pi croft frankenstein creation :smiley:

many thanks to this community in advanced.

Jay

1 Like

Hi Jay, this was the original design when the project was kickstarted. As far as I know, the stl files for this concept were never released to the public. The instructions for the current build can be found here: Mycroft Mark II 3D Printed Developer Kit Assembly : 23 Steps - Instructables. There’s also a link to the github repository with all the stl files.

hi Niels1303,

unfortunately I can confirm after having an email conversation with the Mycroft team, I have indeed been informed that the mark2 portrait model above was a prototype and has not been release to the public sadly.

i have emailed the Mycroft team in November back requesting if i can have a copy of the CAD files but the line of communication with the few members of the Mycroft team I had been emailing seems to have sadly gone dead for the last few months

So I am stuck designing my own CAD design that resembles the same shape and size. which is slow but do able.

Thank you very much for your post and the link this will help greatly with the internals design and with the electronics.

1 Like

You can find the files for the RPI3-based prototype here (in subfolder „CAD/STL“):

2 Likes

Thank you, Dominik, that’s great thank you once again, it makes a lot of things to much easier.

Hi,

I created a simplified version of the Mark II body that can be easily printed using a FDM printer (I did my print on a rather old reprap prusa printer).
You can find the link to the STLs and the original Freecad files in the posting Simplified Mark II body
It uses the hardware of the original prototype and in the meantime I am running it with a RP4.

To build the software stack with the GUI you can look at my posting https://community.openconversational.ai/t/mycroft-gui-on-my-mark-ii-first-light/8477 or directly at the instructions on my wiki https://www.thinkthinkdo.com/trac/project1/wiki/mycroft-gui-mark-2_sys

Have fun - Guhl

1 Like

Thank you guhl,

Thank you for the very useful links i am very much grateful for your input and help.

I am currently redesigning the Mycroft mark II prototype case shown in my first post.
This is take a long while as it a complex shape and things like size’s are having to be calculated images of the prototype but progress is being made slowly but surely.

I am not sure on if i am allowed to release the files but i am sure if and when i finish the design, print and setup my mycroft i will be sure to post updates of my custom design.

Once again thank you for your comment and help.

Jay.

Jay,
I’m also very interested in the original Mark 2 model.
I also backed the Kickstarter back then, and own a Mark 1.

The new (now released) version looks terrible, and I am not happy how the Mark 2 turned out. Still my deepest respect to the company and it’s developers that this all is still possible, with the struggles in the past couple of years.

They do have prototype 3D files, source: Mark II Update: Assembly Prototypes and Audio Test - Mycroft

Please keep us informed about your progress!! And thanks for making the effort to create the original Mark 2 dream! :slight_smile:

4 Likes

Hi fhoogstraten.

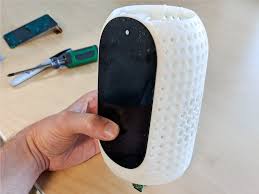
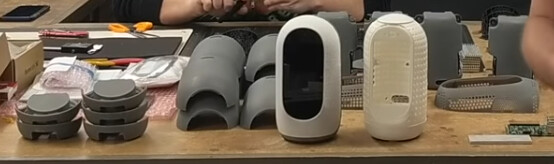
There are two prototypes one with a flat face with the screen and one with a the screen at a slight angle I think between 1.5% and 3.5% angle.

Flatface prototype full covered with cloth.
images (6)

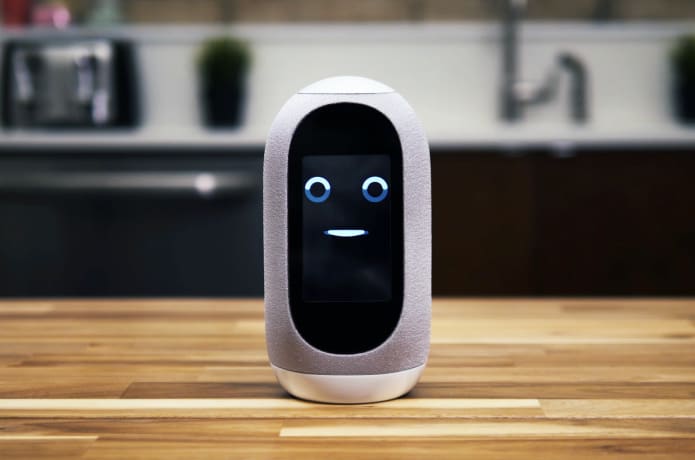
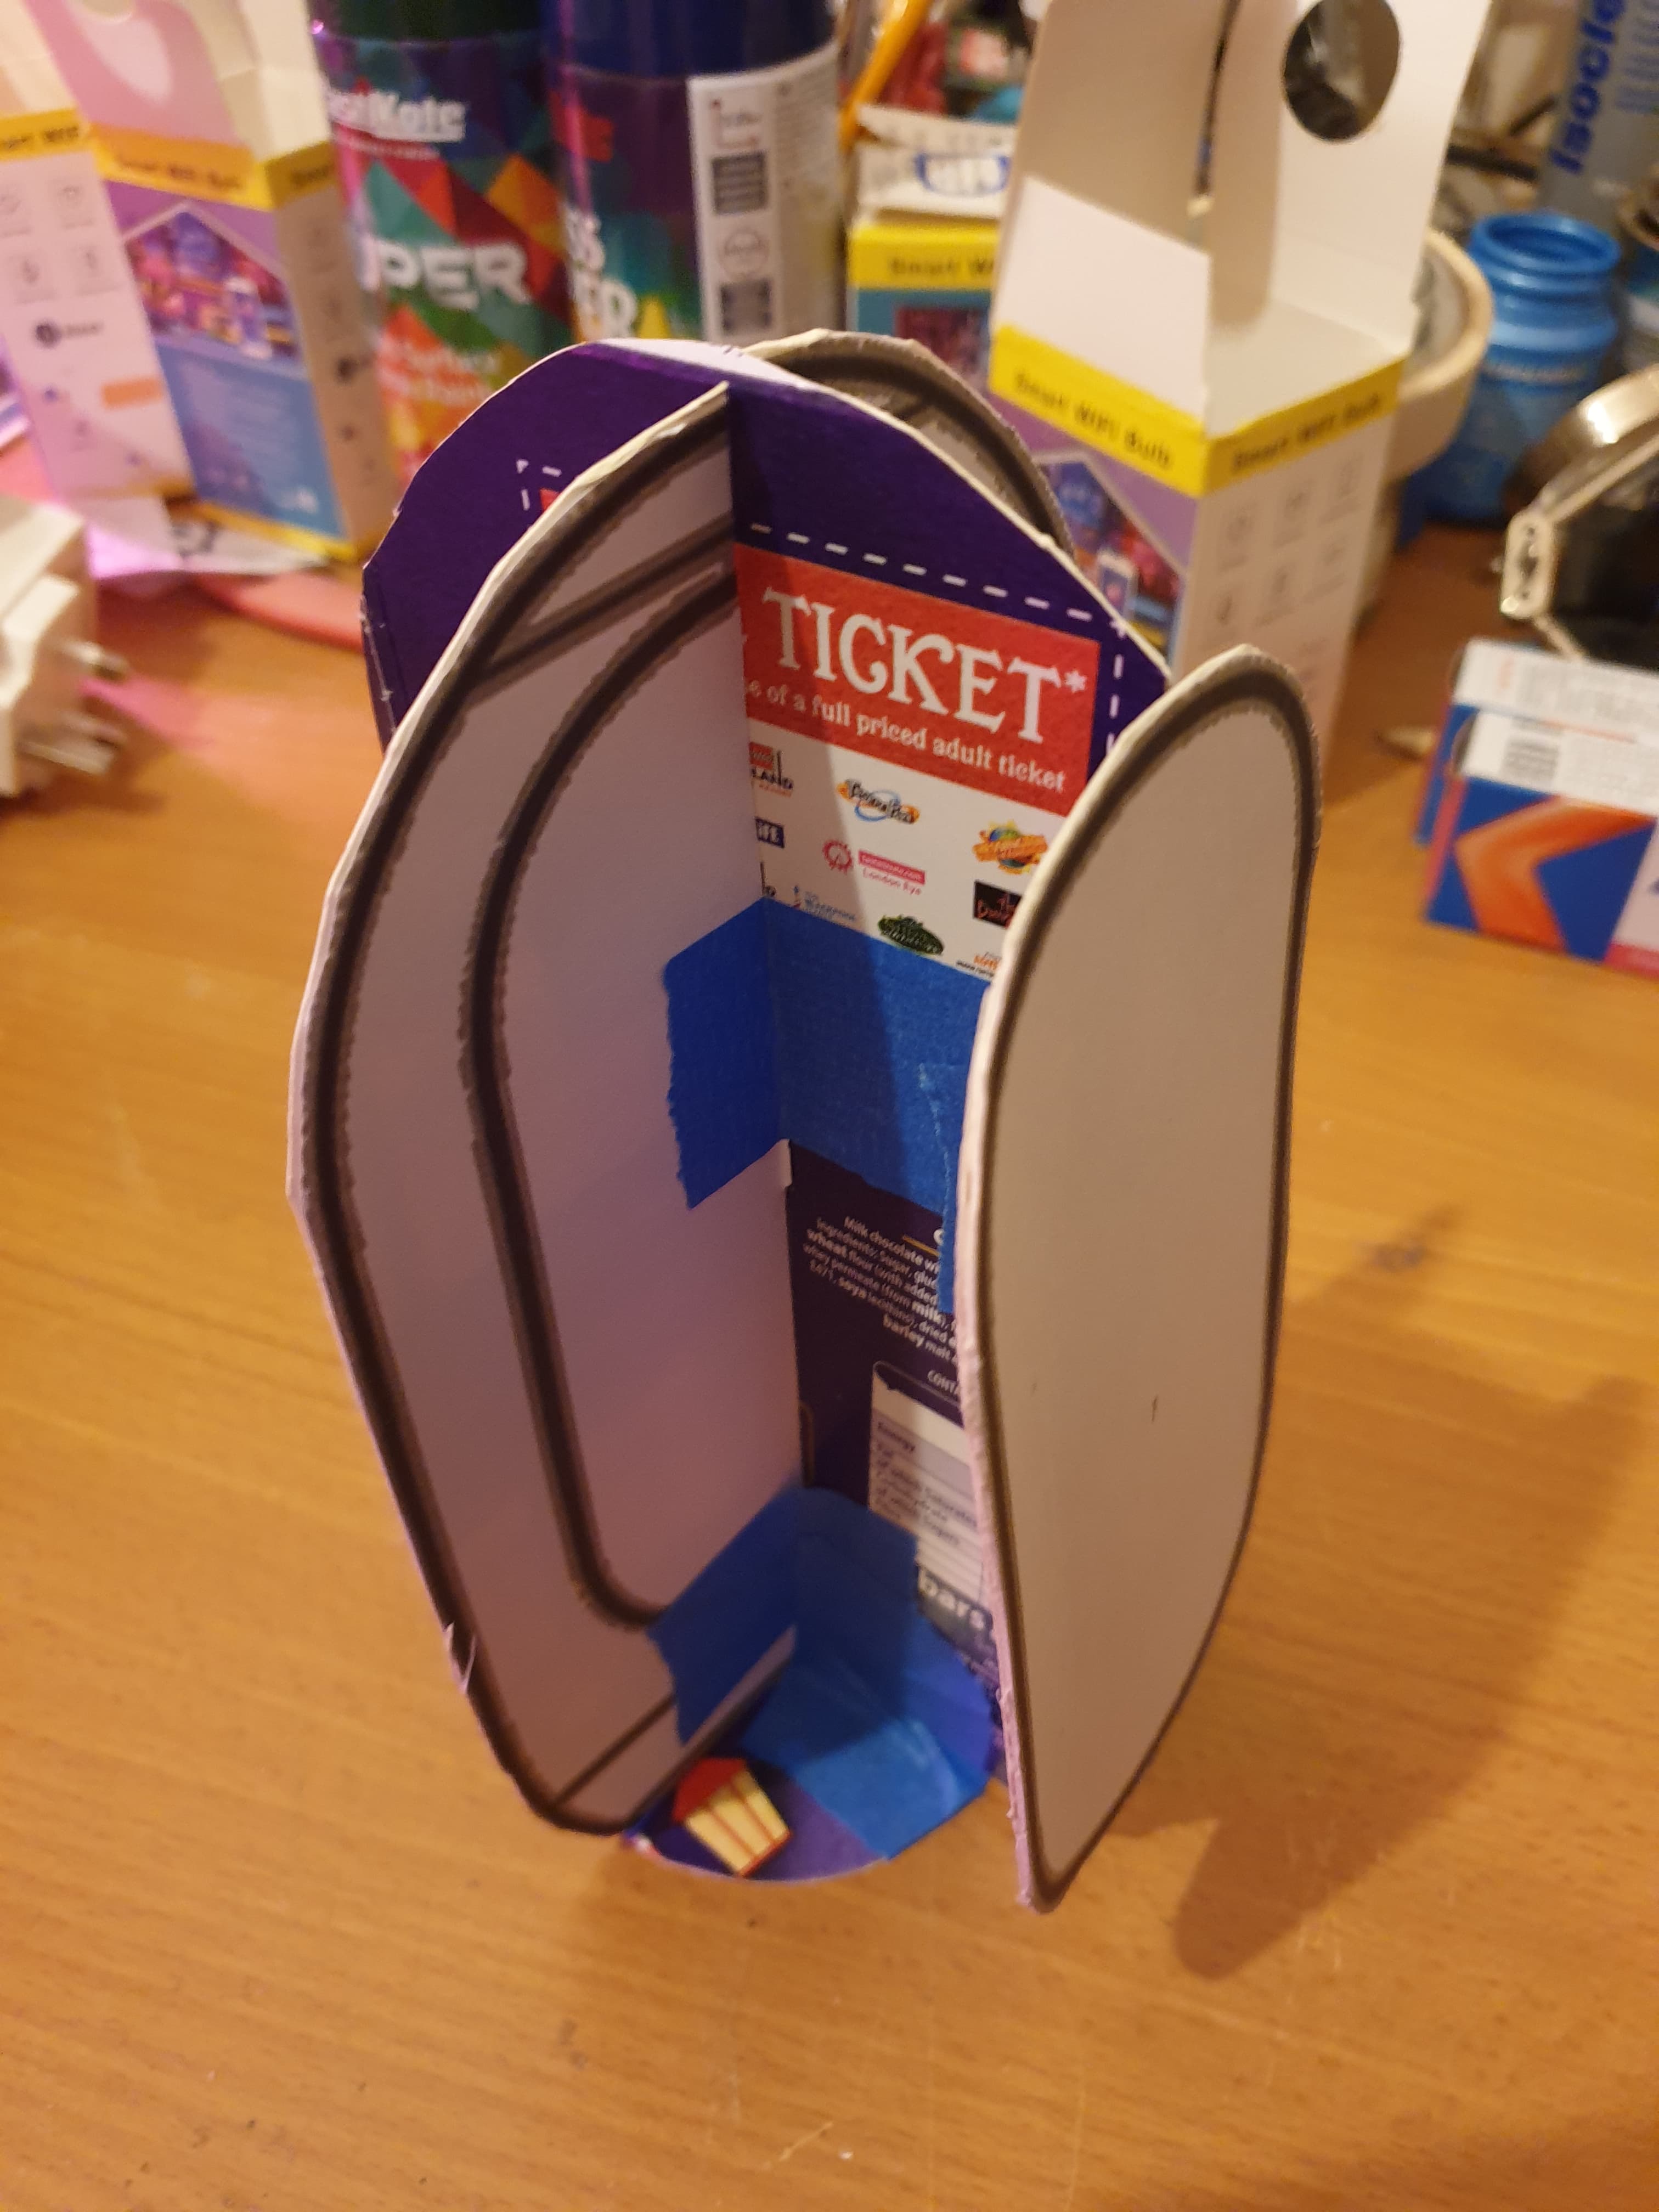
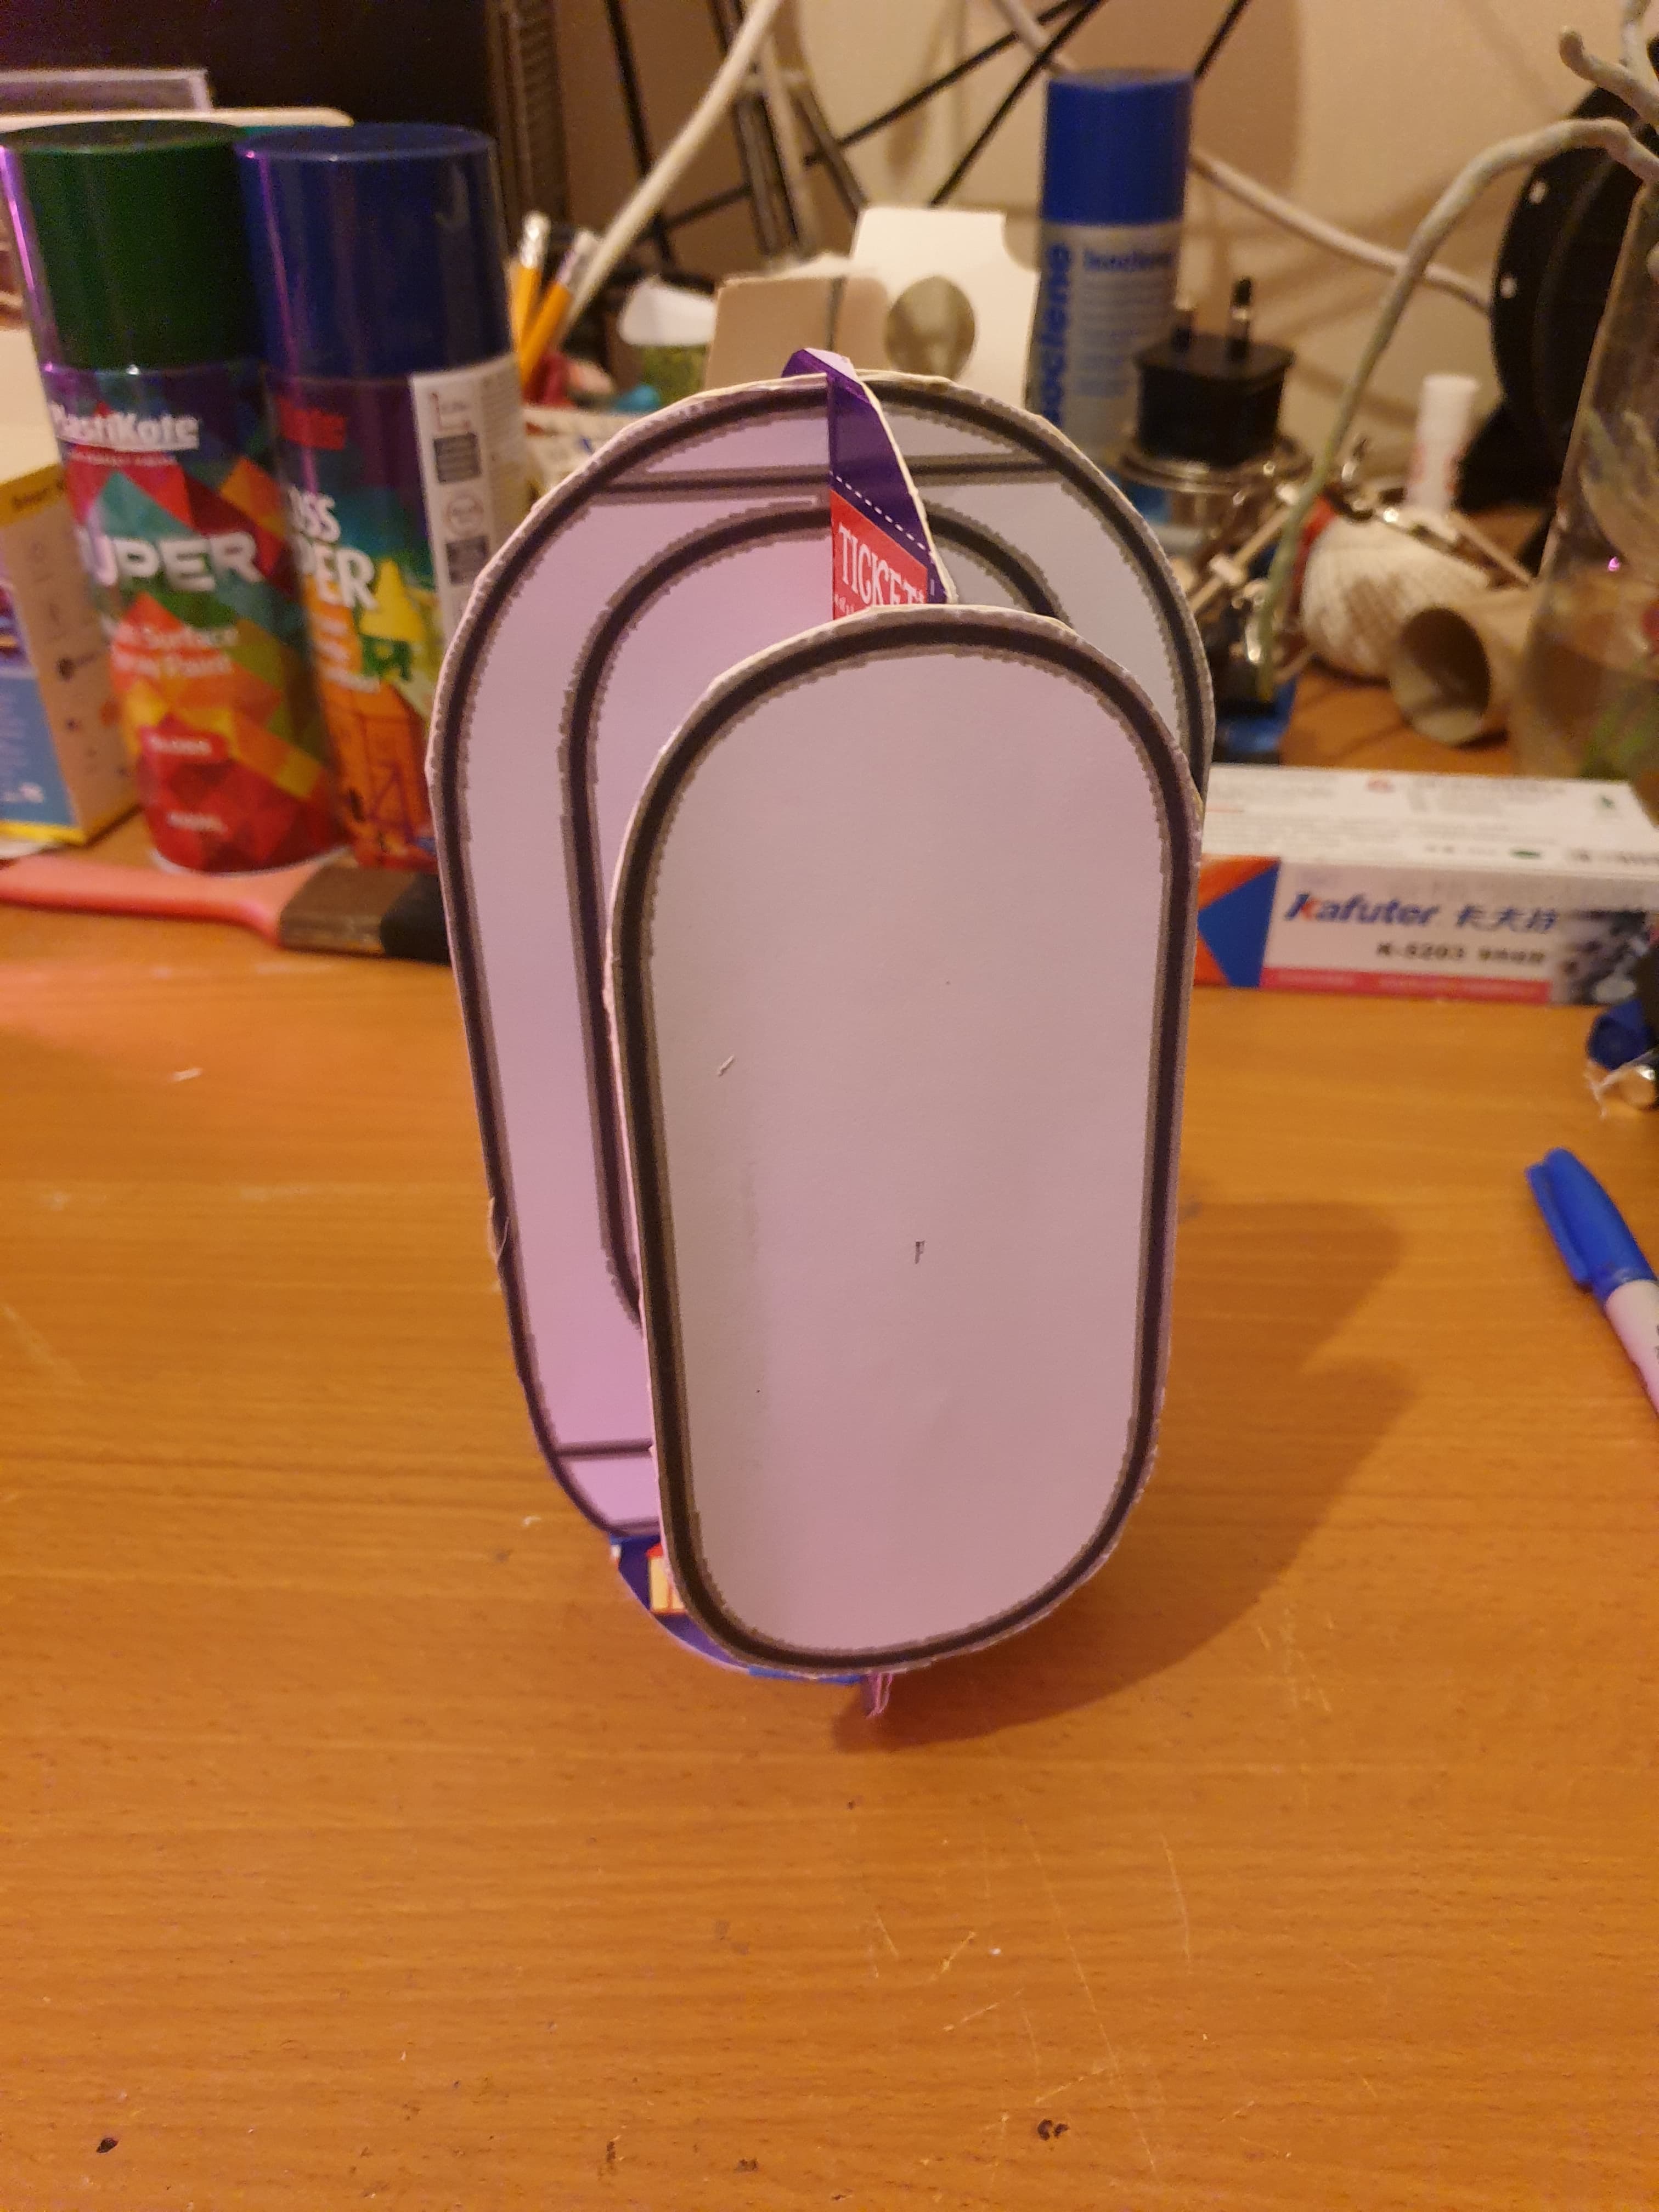
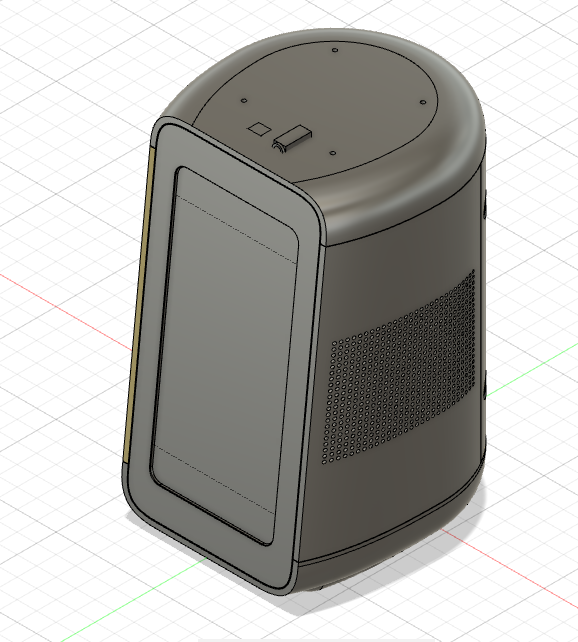
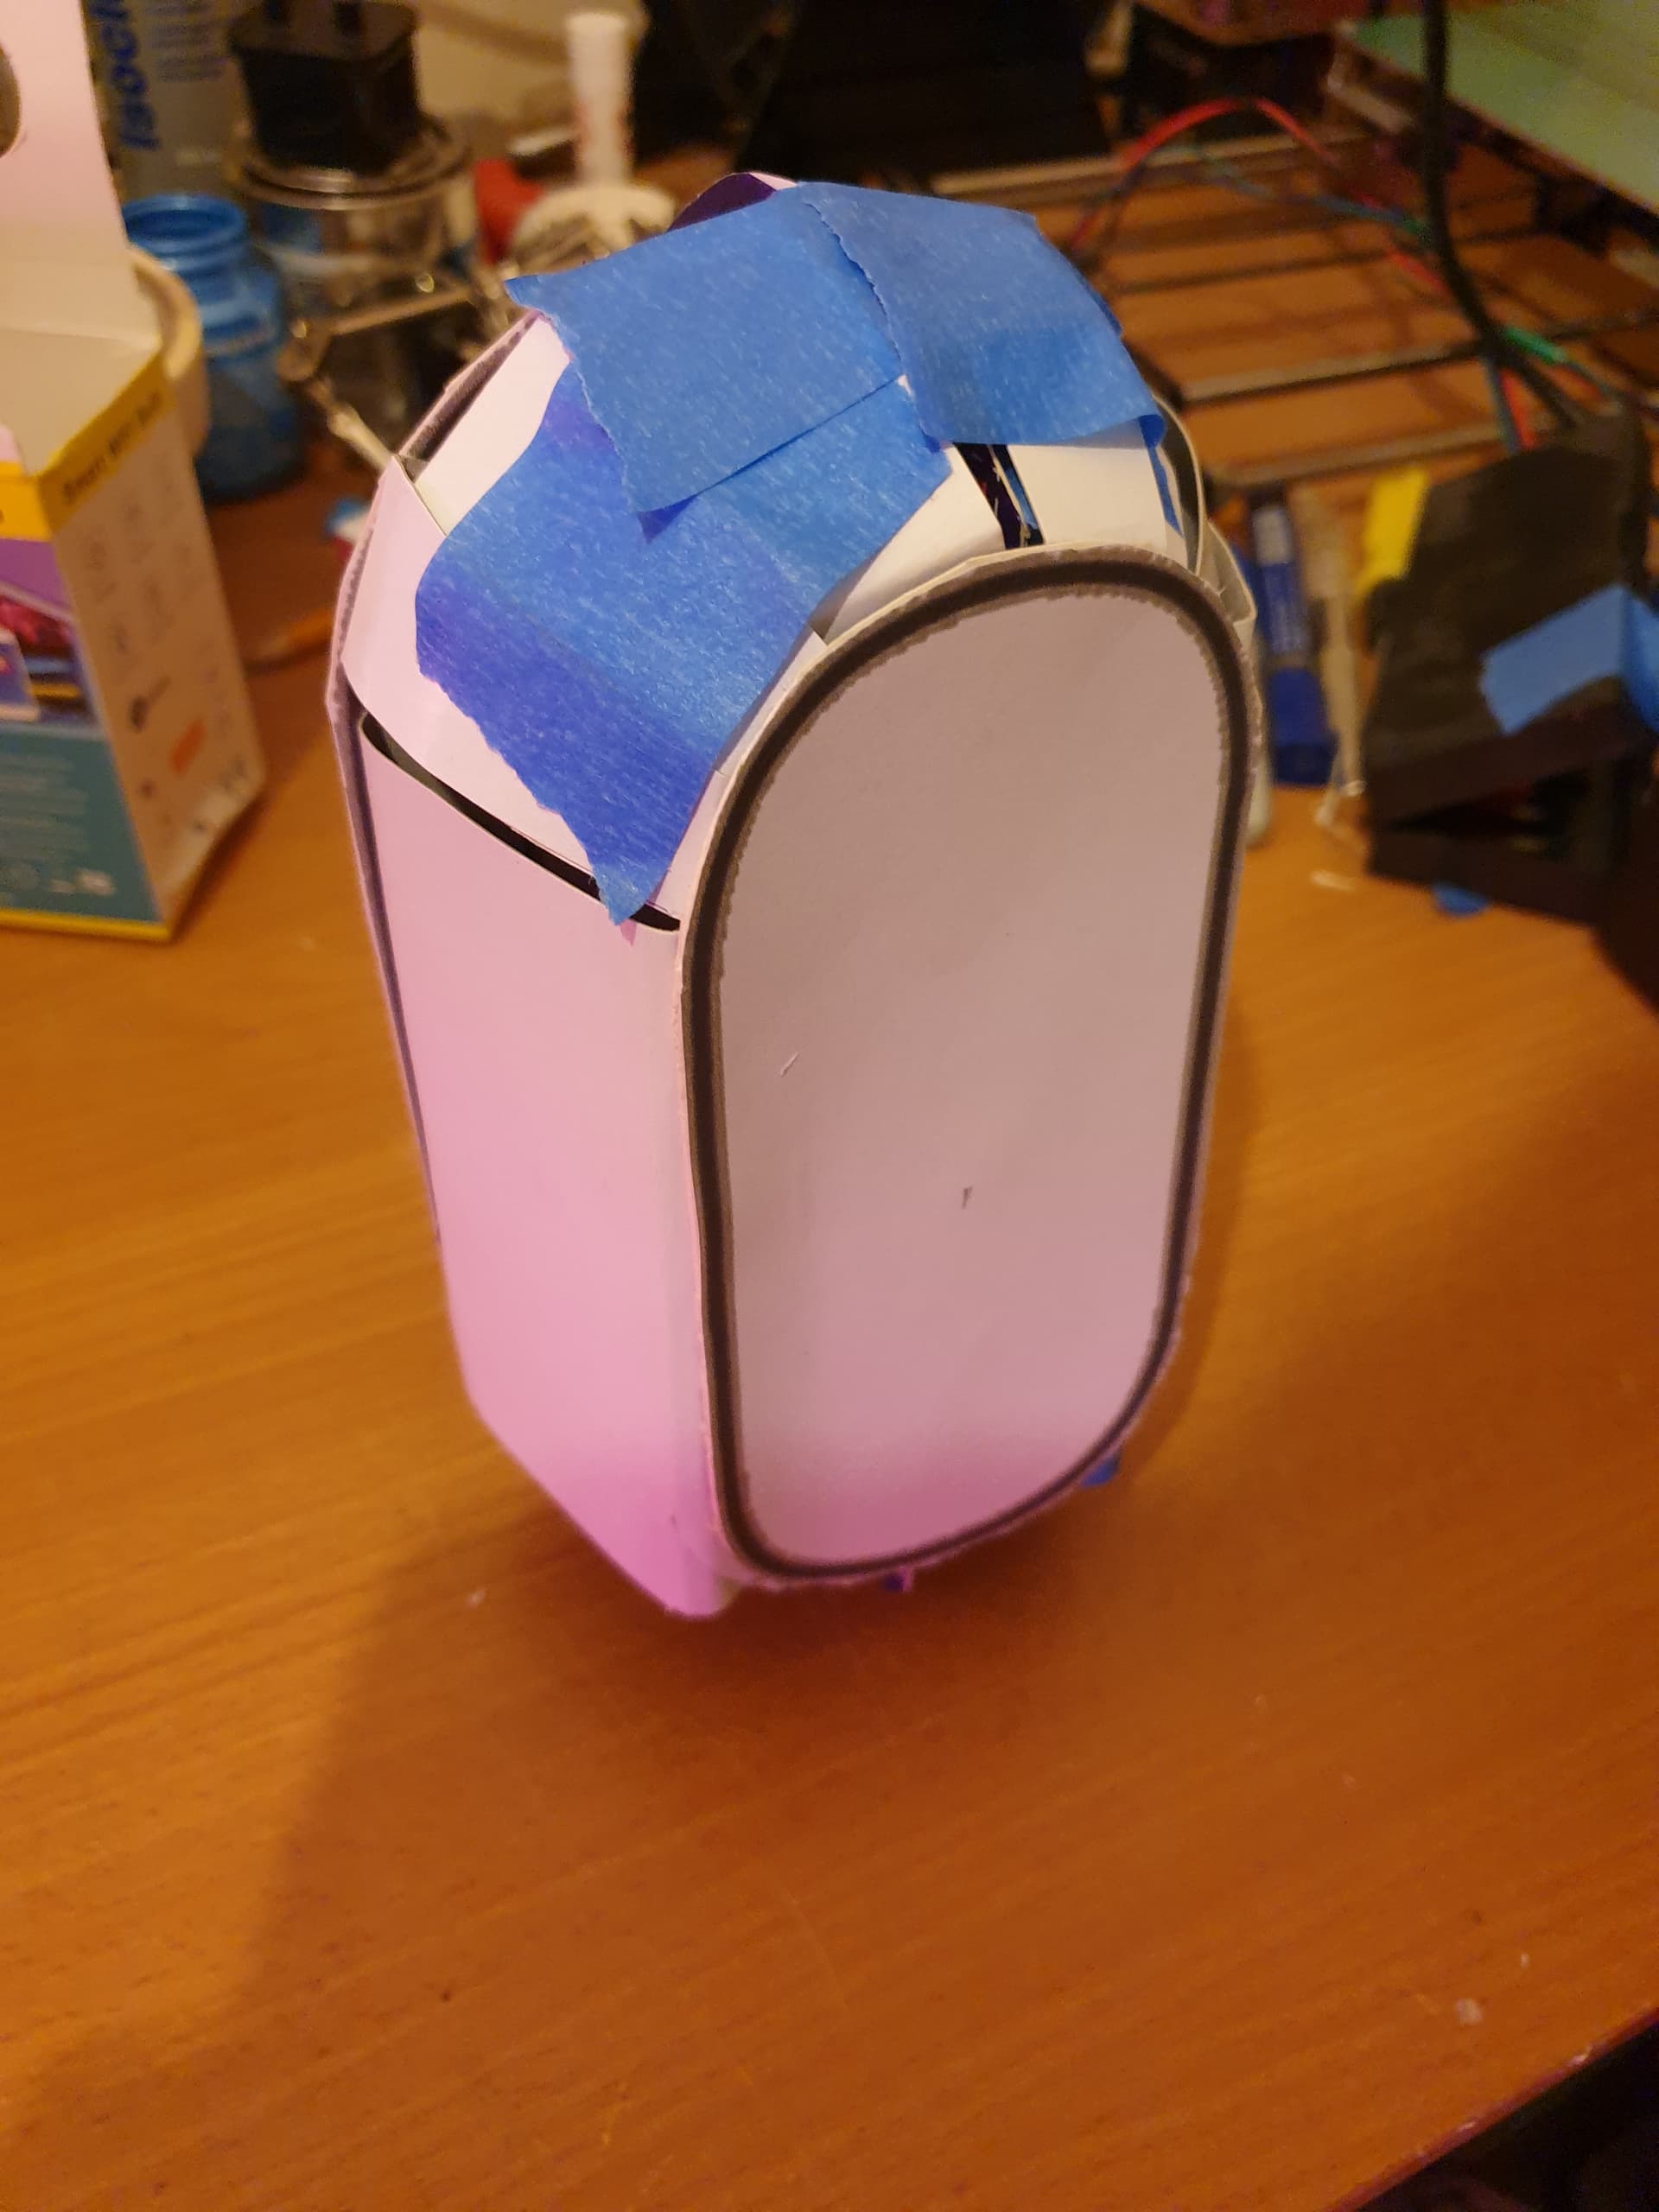
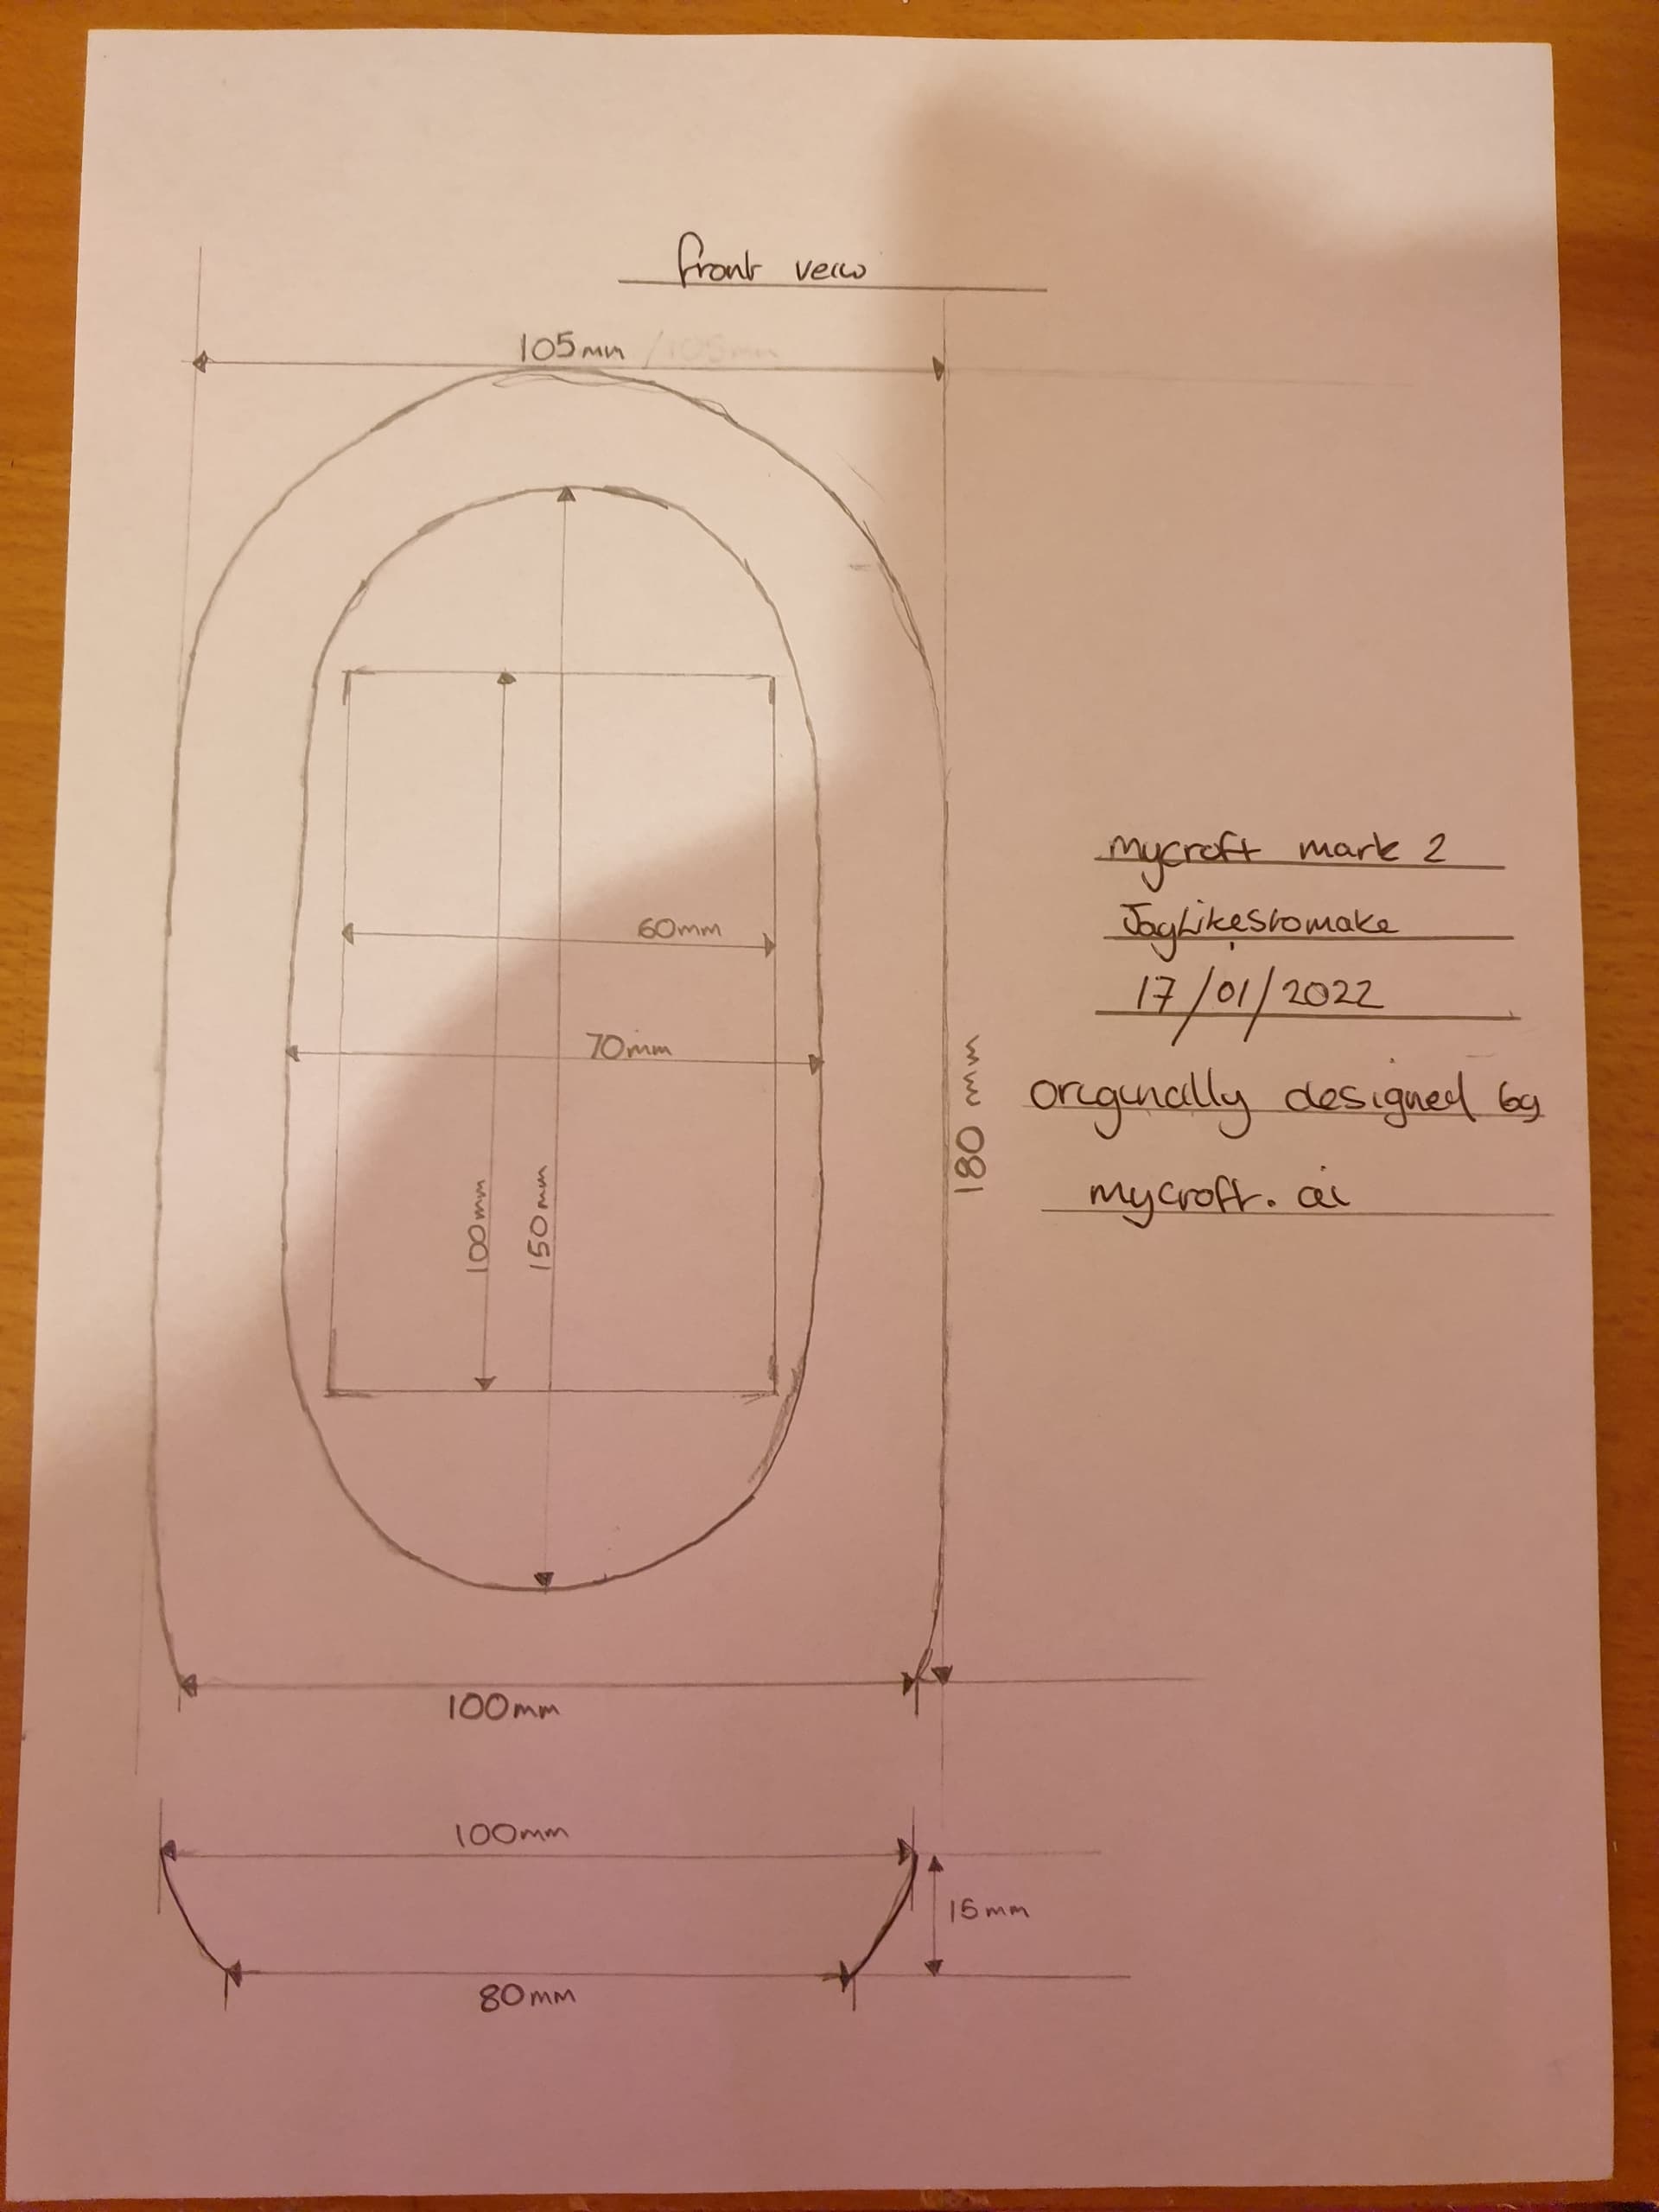
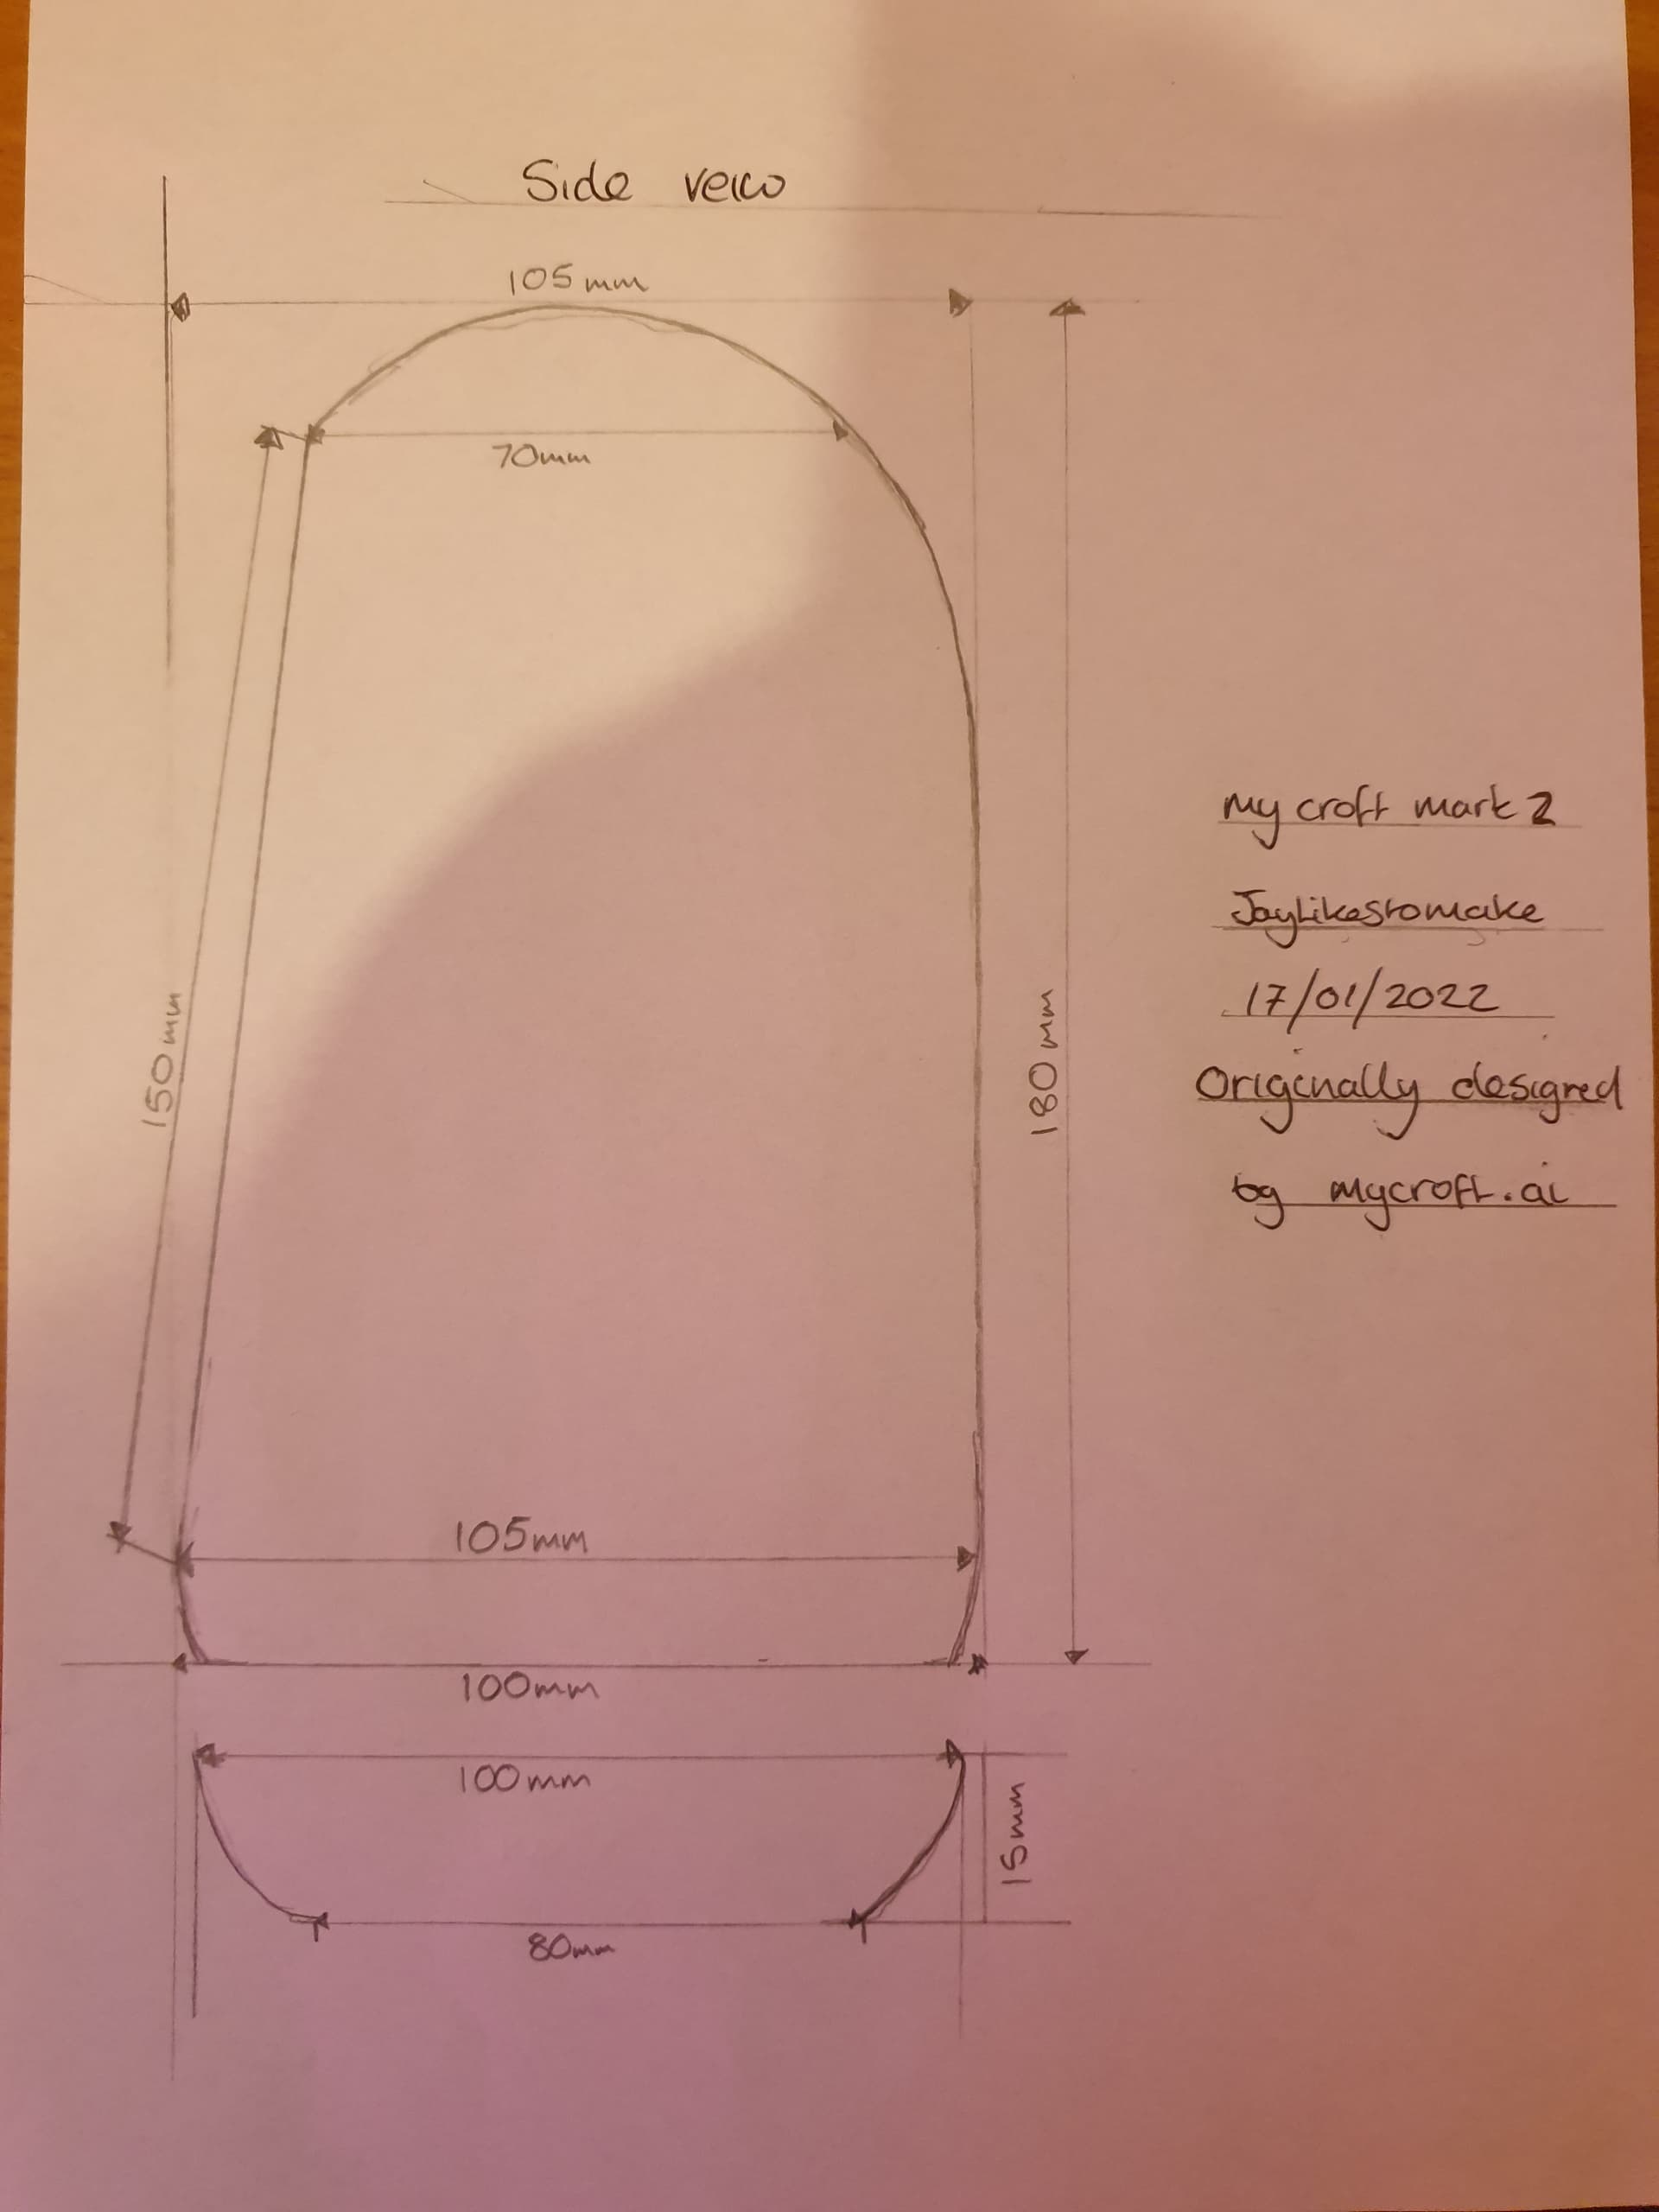
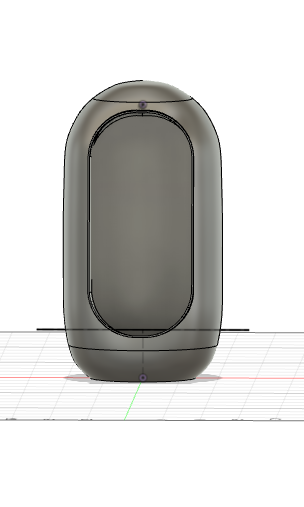
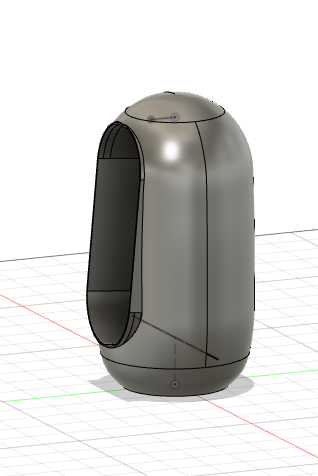
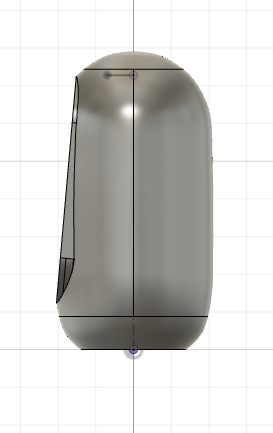
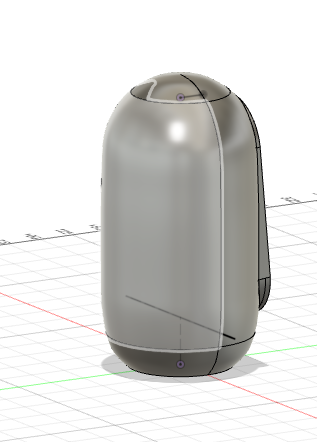
And this model with the angled screen
7026.contentimage_5F00_92469

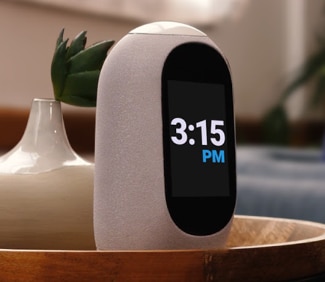
I am currently working on the angled version as there are clearer and more reference images.

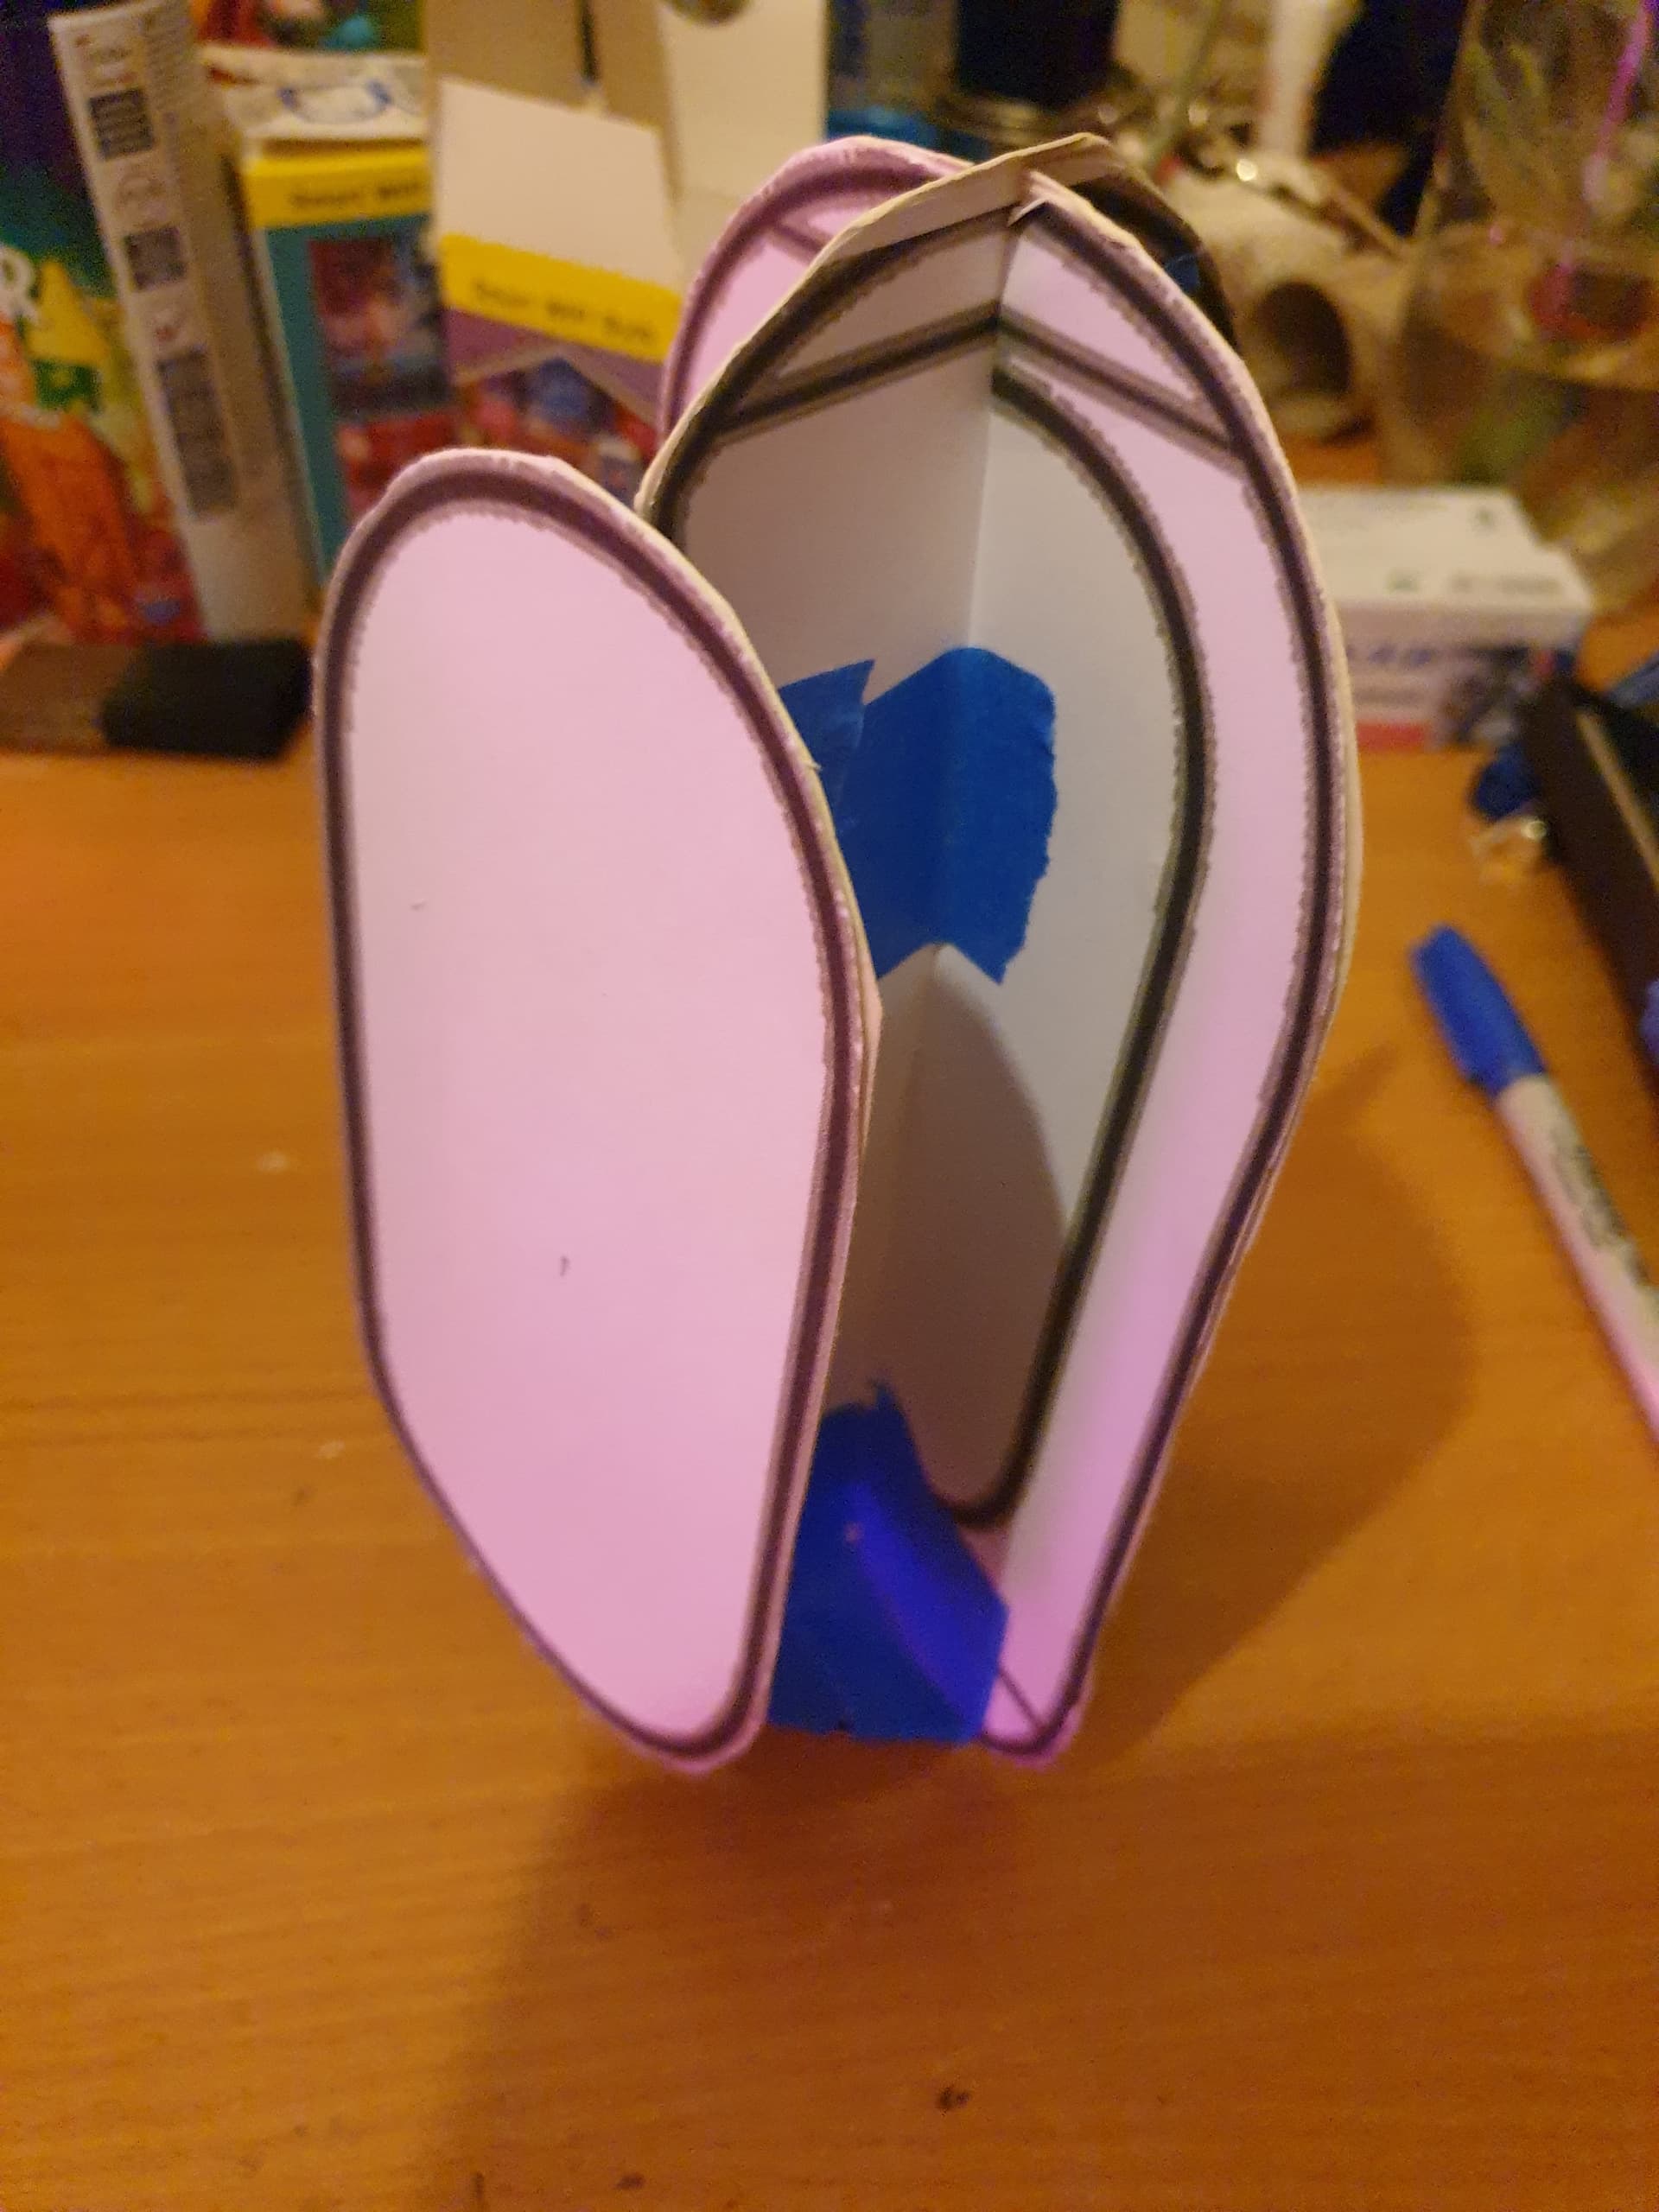
I have just finished or 95% finished working out the sizes from reference images and I am going to start modeling it in fusion 360 soon.

If the Mycroft team want to post the CAD file that would be fantastic and sooooooo much quicker to modify the design insted of rebuilding the entire design and greatly appreciated too :grin:

I am going to have to make changes to internal electronics.

I will be trying to use a pi4 module and a cm4 carrier board with a few modifications removing the dual USB ports and network port and replacing them with a small PCB converting them to a fpc cable. One so I can have a usb port on the bottom at the back and so I can connect and disconnect the hdmi port and network port so I can slim the board down to fit inside the case.

I am aware pi4 modules create a lot of heat I am currently thinking m2 SSD cooling with a tiny blower how ever this could be detrimental to the mic arrays with vibrations mixing with the audio input. But only time will tell. Not the first project requiring some tinkering and playing with to get right.

I will also be using the display used to a mipis dsi screen and changing the mic array for one that’s cheaper. The respeaker 6 mic array is lovely but expensive, My current thinking is to use the respeaker 2 pi hat and some more fpc cables to attach the gpio pins and the hat in its final possition.

I also want to upgrade the Mycroft with some i2c sensors and create a new plugin to report there results back to my home assistant and give the Mycroft the information currently light sensor, air quality sensor, carbon dioxide sensor and temperature and humidity sensor. As well as adding a hardwired stop button to the top of the Mycroft to disable the mic.

I will try and reuse the speaker inclosure as I am no sound expert and it will also save a lot of time.

And I will try and post the results as I go and once completed I might post a full tutorial on putting it together in its eventual state.

I hope this helps everyone see my current design and map my steps and eventual

Thank you to everyone :slightly_smiling_face:

Jay

4 Likes

Just a a short update.

Test fitted my design reversed from images of the Mycroft II prototype, my size, scale and look seem correct with similar features like the screen at a very slight angle.

Please excuse my arts and crafts :rofl: but I didn’t fancy modeling and then 3d printing the entire model for it not to look right.

Reference picture 7026.contentimage_5F00_92469

My cardboard test model


I feel I am currently making progress.

Tell me what you think should I model it in fusion 360 from my estimated sizes and designs or do you think I should fill the cardboard out with polystyrene get the shape correct and then use photogrammetry to get the model shape ?

Jay

2 Likes

I like the cardboard modelling approach, looks great.
Maybe @derick-mycroft, who did the original design, can help you out with checking dimensions?

@ jaylikestomake

don’t know if you seen it but the original git repostitory contains a step file of the original design of the prototype.
https://github.com/MycroftAI/hardware-mycroft-mark-II/tree/master/mark-II-rpi-ots/CAD/STP
I used this as a basis for the dimensions when I did my simplified design.

Have fun - Guhl

Thank you @guhl,

I intend to use some of the parts from this design as stated in my post from the other day.
almost completed my drawing and will be posting them soon on this thread with sizes.

Hi Everyone,

just another short update and some sharing.

I filled out my cardboard design more to see if i got the correct shape and if it was close to the Mycroft mark II prototype design. I was happy with the out come and designed to draw up my designs with sizes. i am not sure how close I am to the original size of the prototype and might not ever know how close i am really but its my best so far.

here are my current designs, I am not the world best artist so please excuse my non symmetrical shapes at points.

PS. sorry for any design faux pas …

here is the front view. Credit to the Mycroft.ai team who originally designed the mark II and well and truly deserve credit.

here is the side View Once Again, Credit to the Mycroft.ai team who originally designed the mark II and well and truly deserve credit.

Hopefully you find this update interesting and the designs useful, if you make any progress towards to overall good of making mark II CAD files please upload them.

Jay

1 Like

Love that someone is bringing the original design back to life

I’m sure you saw all of these already, but here are some reference images from the early days in case it is helpful, would be awesome if we could get these in github together with the other designs

image

image

image

image

image

image

1 Like

Thank you for the images I have got copy of them,
The speaker housing its a good one could be used for photogrammetry to produce a 3D model how ever not sure of the internal construction :thinking: :thinking: but i could reference the PIcroft 3d model for help. we will have to see.

I am thinking about setting a GitHub. Once I get to a stage I feel its worth creating one and depending on the Mycroft teams views on the matter.

I know this is a opensource and community base project but I would like to take there views in mind, they created the original design.

Jay

Hi Everyone,

Another Short update last one until next week now.

I have started the CAD Design Process in Fusion 360. i have made some progress towards the design. progress is a bit slow as I only started learning to using Fusion 360 in November 2021 and I am still learning so I am not an expert in the matter. below you can see some screen shots of my progress I will continue the CAD Designs next week when i have some free time.

Once again full credit to the Mycroft team for the original design.

Front

Side angle
Cad_side_progress_stage1

Side
Cad_Full_side_progress_stage1

back side
Cad_Back_side_progress_stage1

if you have any tips to get rid of the hard and sharp edge on the front. it would be very much welcome.

Thank you for reading and i will see you soon

Jay

2 Likes

Looking great.

Would love to see it a bit more egg shaped though :innocent:

1 Like

Jay,
Thanks for your updates and design work. This looks awesome!!
Can’t wait to see the 3D print!

Again, many thanks!

1 Like

I may try a few different designs once this one has been completed.

i have been thinking of designing a Cat shaped one with a round screen and a flat style with out a screen :smiley: but that’s a future project for sure.

as well as once the file are release you are free to modify them all you like.