TFT interface on your home brew

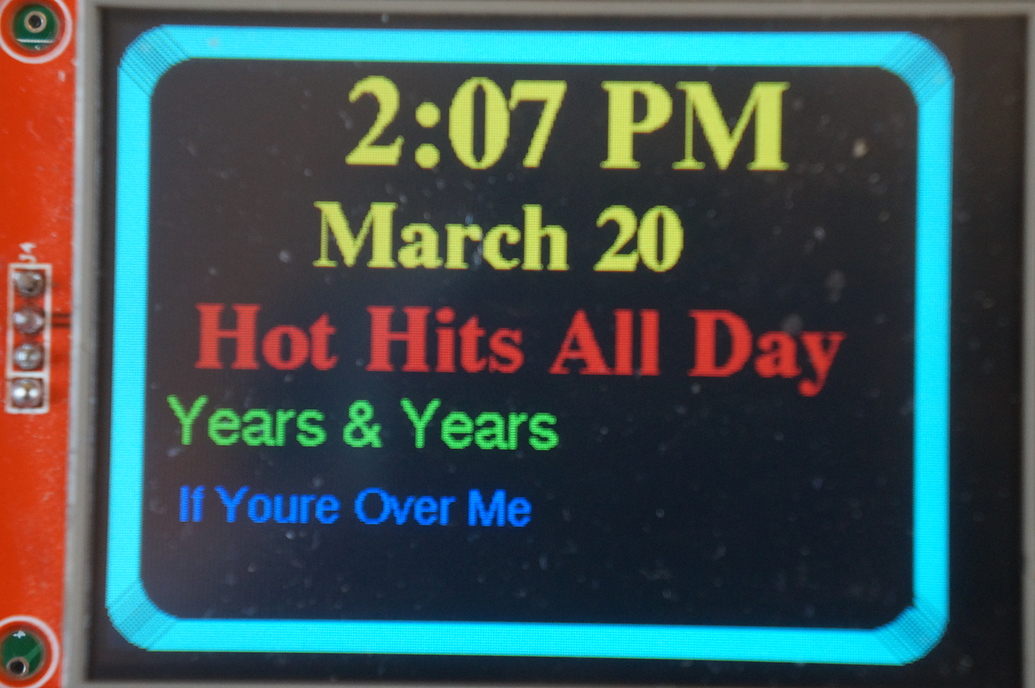
hi there for those who wish to build thier own home brewed TFT it compatible with large range of screen types from smaller ili9341 screen to large RA8875 10.1" screen ( just ( change it from the TFT_eSPI libary to the RA8875 library for these larger screens ).


( green is listening - blue is ready light - it currently display streaming meta data)

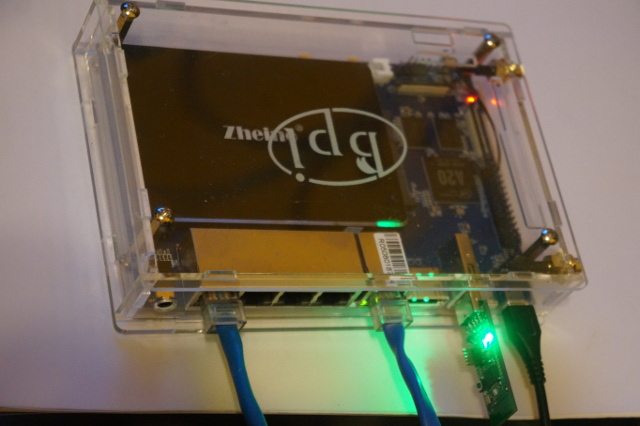
I did not use rpi specifically but Orange pi on an Armbian OS it is fairly simple to install on any pi variant you can see this how to

the github repository is found here

now this git hub is just the base variant. but if you look at my other screen option related to my other open energy monitor projects you can easily Incorporated remote touch screen interface via Mqtt from many screens interfaces

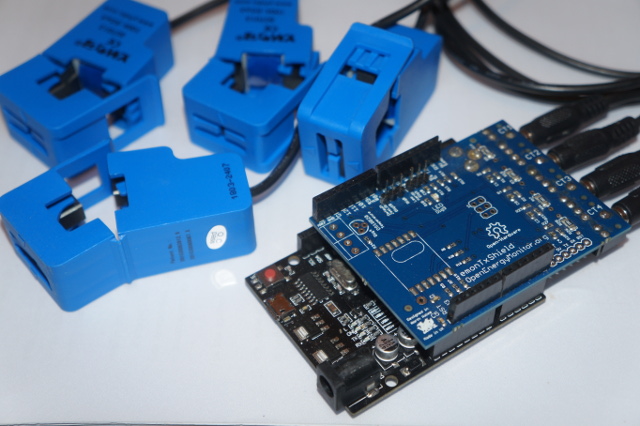
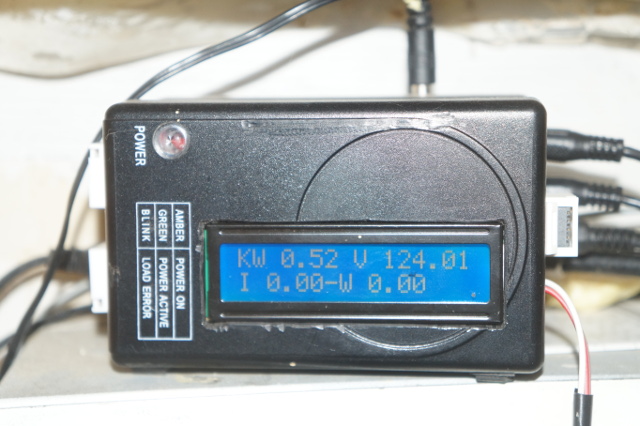
example if using my RA8875 energy monitor on a 9" ( using a mega wemos R3 mega/esp) simply add another topic category ai and just the code to watch for it

then just add this to the above AI TFT screen sketch change the CMD_ XX to match your reference in the remotes units for graphing

ie - in the onlight add – system(“mosquitto_pub -t ‘/ai/onlight’ -m $data”);

open(SUB, "tail -f /var/log/mycroft/voice.log  |  grep -oiP --line-buffered '(?<=__main__:handle_record_end:)[[:digit:]]+' |");

while ($data = <SUB>) {

#print "cmd_3(off)";
print "$data";

system('echo "cmd_3($data)" > /dev/ttyS2 ');
system("mosquitto_pub -t '/ai/onlight' -m $data");
}

and in the RA8875 graphing
esp-- into add an input string

 String input20 = "/ai/onlight";

and topic processor

if (input22 == topic){
 String inString = "";
 for (int i=0;i<length;i++) {
     inString +=  ((char)payload[i]); 
 }
Serial.print("cmd_22("); Serial.print(inString); Serial.println(")");

and client monitoring

 client.subscribe("/ai/#");

then in the LCD graphing ino basically combine it with Ai__graph.ino

add serial processing
if (part1 == “22”)
{

Serial.print("recieved 22 ");
String raw_CMD;
AI_ready();
Serial.println(input20);

}

plus addin in the void AI_ready() to the ino adjusting it to graph where you want it to graph

and continue to the next to the next input

and if you wish two way communication to the touch screen just follow the example in the graphs. but having the AI machine listening for topic ai_com

then once it receives an input example security — security .pl

#!/usr/bin/perl -w
open(SUB, "/usr/bin/mosquitto_sub -h 192.168.168.150 -t /ai_com/sw10 |");
while ($data = <SUB>) {
print "$data ";
system(" http send to domoticz or  run a program ");
system("/home/ai/mycroft-core/bin/./mycroft-speak 'the security system is now turned off' ");
}

okay good luck have fun…

3 Likes

Very nice, have you created displays for the energy monitoring data?

Would be cool to see a video of the setup, so many people doing home automation with Mycroft that I’m sure would be interested to see.

sure I will try to explain:
the entire system is quite small and compacted - I run the entire home automation and database off a single opensource router ( BPi-R1 ) that runs on the openwrt OS. it acts as router for the household as well.
DSC05034

the software installed in it is
openwrt 18.00 or greater here a howto build your own
influxdb-chrograf and kapacitor
domoticz for home automation
Zigbee2Mqtt here a how to install on an Openwrt device

or you can download a precompile version here

the energy monitoring is done using openenergy txsheild and wemos R3 (uno/esp)

DSC05044

here a how to program it

my unit include power diversion from solar panels and looks like this - it diverts extra solar prodution to a hotwater tank
DSC05038

if you wish this type of system use this - you can remove digitalpot section as that was use for GTI limiting most people will not use it or leave it in it will not do any harm)

here a video I made of the energy graphing you are not allow to upload a video here directly so here a linlk to it https://community.openenergymonitor.org/uploads/default/original/2X/b/b36114922dadd0894a20ddace9fea216c56c89bb.mp4

or the original page

or you can use the the thermostatic controller version

all in all it works really well the home automation database collection and power management - and am especially liking my new addition of zigbee2mqtt that is quite nice and much easier then setting up sonoff and building your own especially when you get the zigbee stuff from here or use the Ikea TRÅDFRI stuff .

the Mycroft is just a new integration for me I have not yet pushed it boundaries yet… though II am about to finish the remote mqtt unit sketch for it - as i decide to leave the mycroft unit a a hidden device that wired into the house and just have the small display placed here and there to tell you what happen with mycroft…

1 Like

Yeah interesting, thanks for sharing.

If you’re making additional displays, you might be interested in the GUI development that is progressing for the Mark II. It is still in heavy development so it will change significantly and often, but worth keeping in mind.

thank you for the link - I looked at that a couple weeks ago… i know that it KDE based-- it currently not how I want to proceed as that pretty big base just to display a few images and base info … I do mind off loading the visual displaying to the esp and using it as the render engine… I might incorporate mic into each remote mqtt unit and transmit via wifi audio to mycroft-- do you have have virtual pin in for your audio input… it pulse so it might have I might be able to load jack and and pin in different audio sources up that way… … maybe I will install mycrofyt on a big rig that fully set up for audio processing jacking and then see if mycroft has any built in way to pin audio inputs – then shrink it down to a small form factor afterward

for those who are intereted - I uploaded the remote mqtt screen it will display exactly the same info as the seroial screen. then only difference it listens to a mqtt server for the updates to the screen. so you can place many remotes screens around the premises to gather info from mycroft ai it in the same github dir mentioned above

1 Like